When you’re lifting large glass panels in tight Sydney sites, there isn’t much room for error. One bad move can crack a panel, damage a finished façade, trigger rework and blow a hole in the program. All this while navigating neighbours and traffic build up on the street. The crane you choose has a big say in how that day goes.
For glaziers, façade installers and builders, smart planning starts with picking the right crane hire option for the job. In many tight-access Sydney projects that choice is between a mini crawler crane working close to the install point, or a city crane set up in the street or driveway. Understanding where each option shines gives you safer glass lifts, smoother days on site and a better result for your client.
Why Tight-Access Glass Lifts Need The Right Crane
What Makes Glass Lifts High Risk
Big glass panels look clean and stylish when they’re in place. Getting them there is a different story. You’re dealing with:
- Fragile, expensive panels that don’t like sudden movement
- Tight tolerances on brackets, channels and frames
- Wind that can catch a panel and turn it into a sail
- Pedestrians, traffic and finished surfaces close to the work area
One slip can mean broken glass, damaged façades and long delays while replacement panels are ordered.
Common Tight-Access Glazing Scenarios
Tight-access glass lifts show up all over Sydney, for example:
- CBD shopfronts where you’re working off the kerb near live traffic
- Inner suburban terraces and duplexes with narrow side access and tight backyards
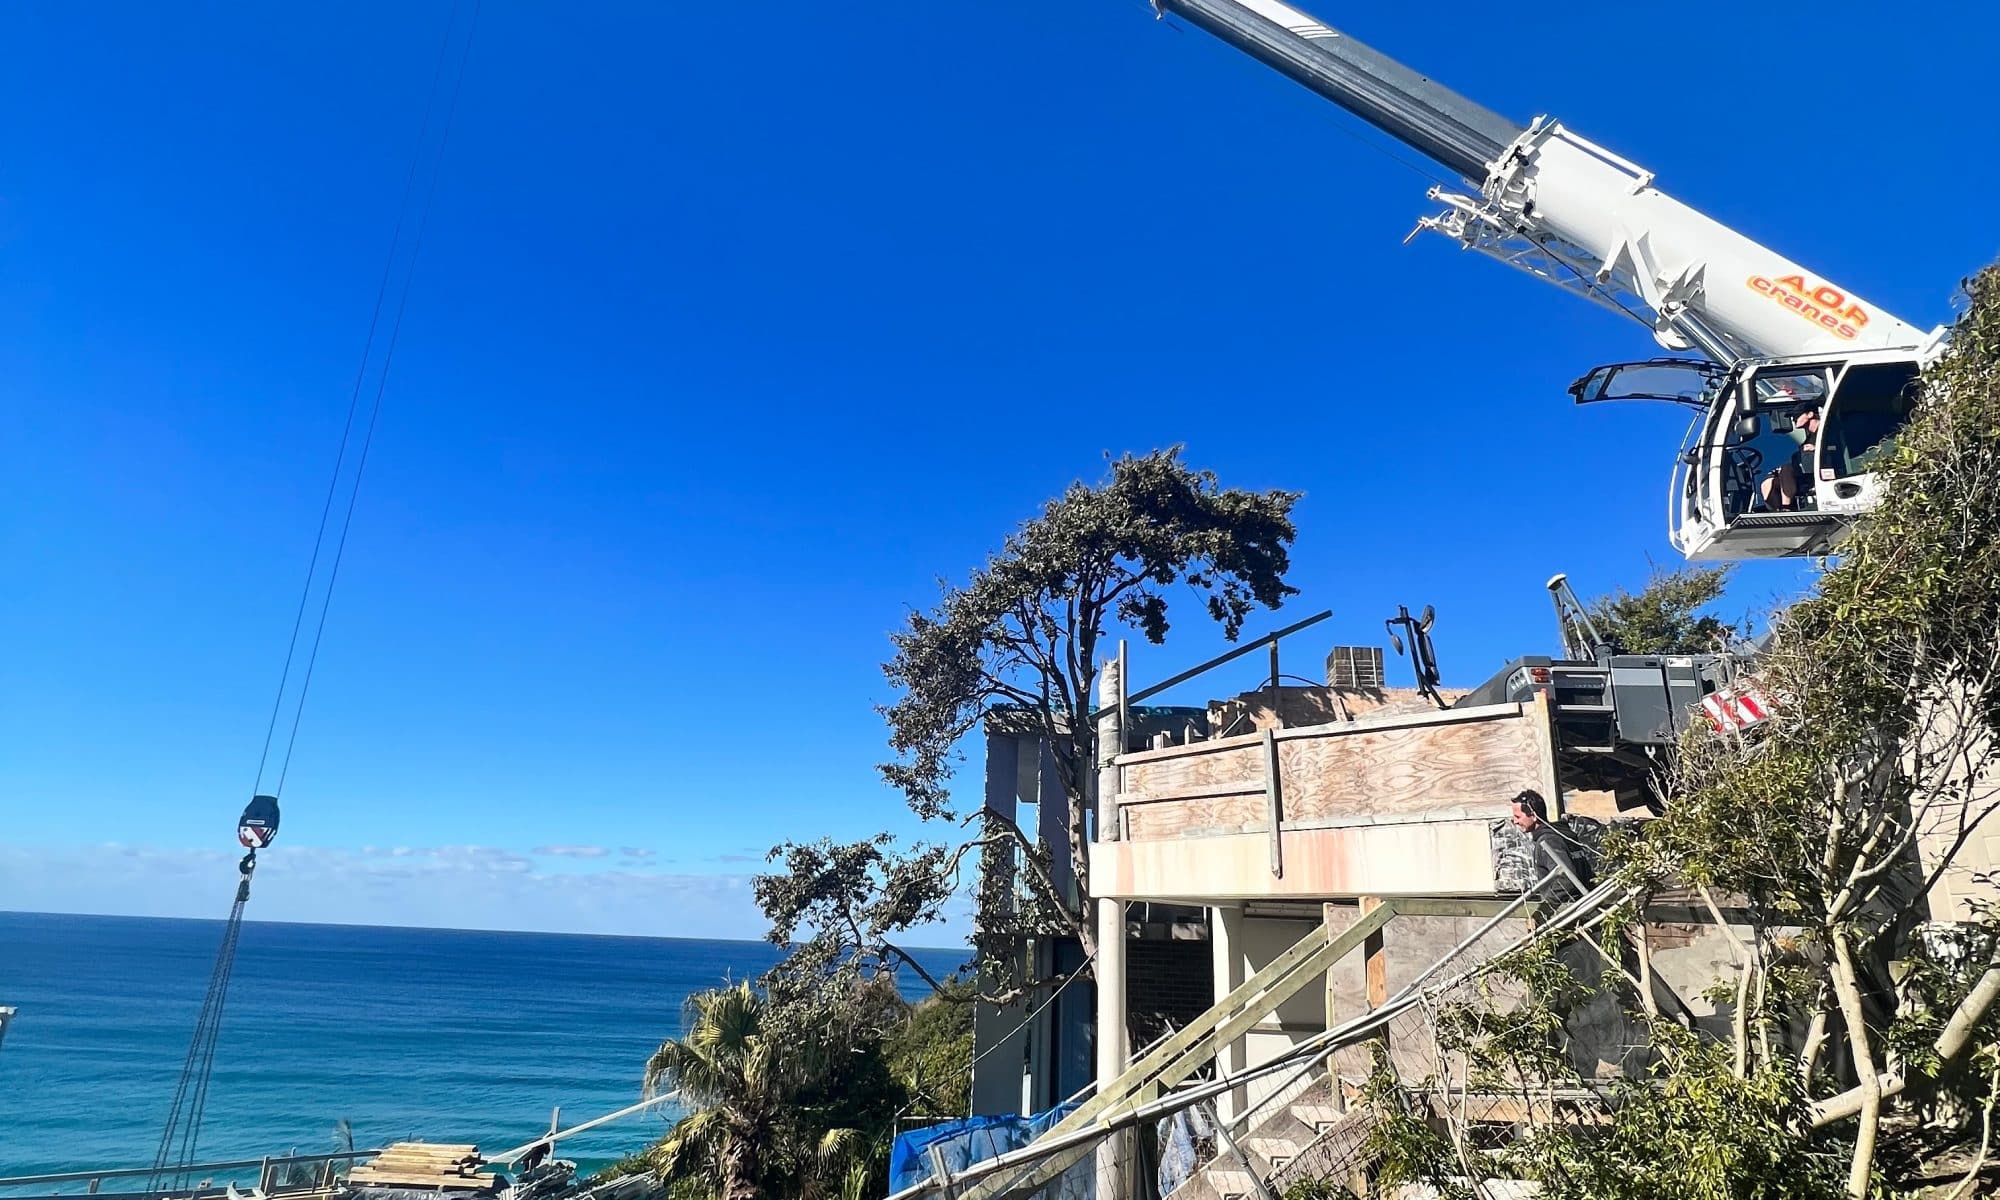
- Multi-storey façades where awnings, balconies or trees limit set up room
- Shopping centres where you need to lift through entries or operate inside the building
Each site pushes the crane into a slightly different corner and that’s where crane choice really matters.
What Glaziers And Builders Need From A Crane
For glass panel crane hire in Sydney, the crane has to work with the job, not against it. Most glazing crews are looking for:
- A footprint that fits the space without crowding the install area
- Reach and capacity that match their typical panel sizes and frame weights
- Set up and pack up that respect neighbours, traffic and trading hours
- Smooth, precise control for final positioning
- Simple integration with vacuum lifters and glass handling gear
When the crane ticks these boxes, glass lifts feel controlled, predictable and far less stressful for everyone on site.
Mini Crawler Cranes For Glass And Glazing Work
Where Mini Crawlers Fit Best
Mini crawler cranes come into their own when a truck crane can’t get near the work. Typical spots include:
- Rear yards and courtyards with narrow side access
- Podiums and slabs on multi-res sites
- Shopping centre entries, malls and atriums
- Tight laneways and service corridors
Tracked travel and compact dimensions mean you can take the crane to the glass instead of trying to reach in from the street.
Advantages For Glass Panel Lifting
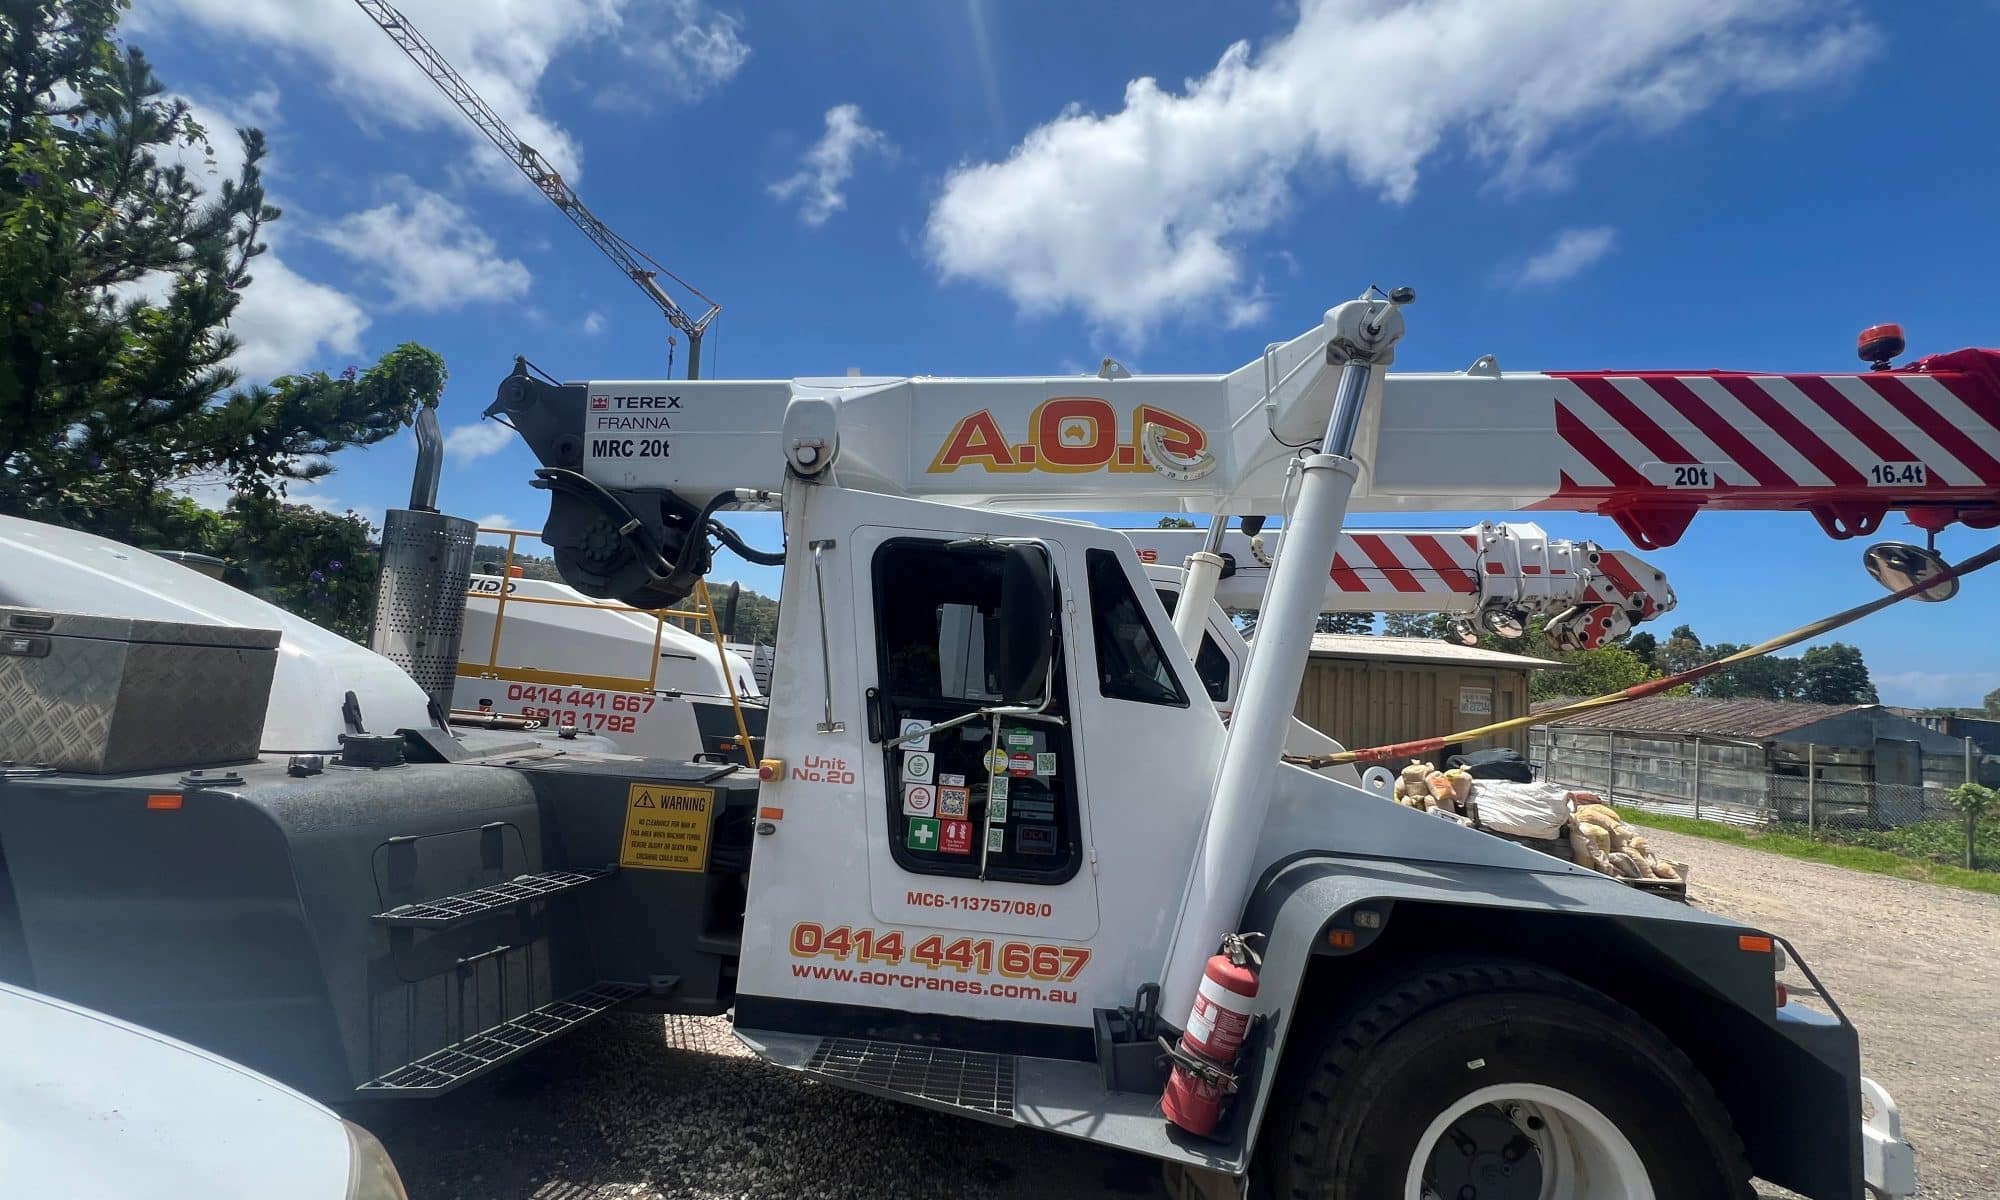
For glaziers and façade crews, mini crawler crane hire in Sydney can solve a lot of headaches:
- Compact footprint that fits side paths, patios and internal spaces
- Ability to work close to the install point and boom up instead of over-reaching
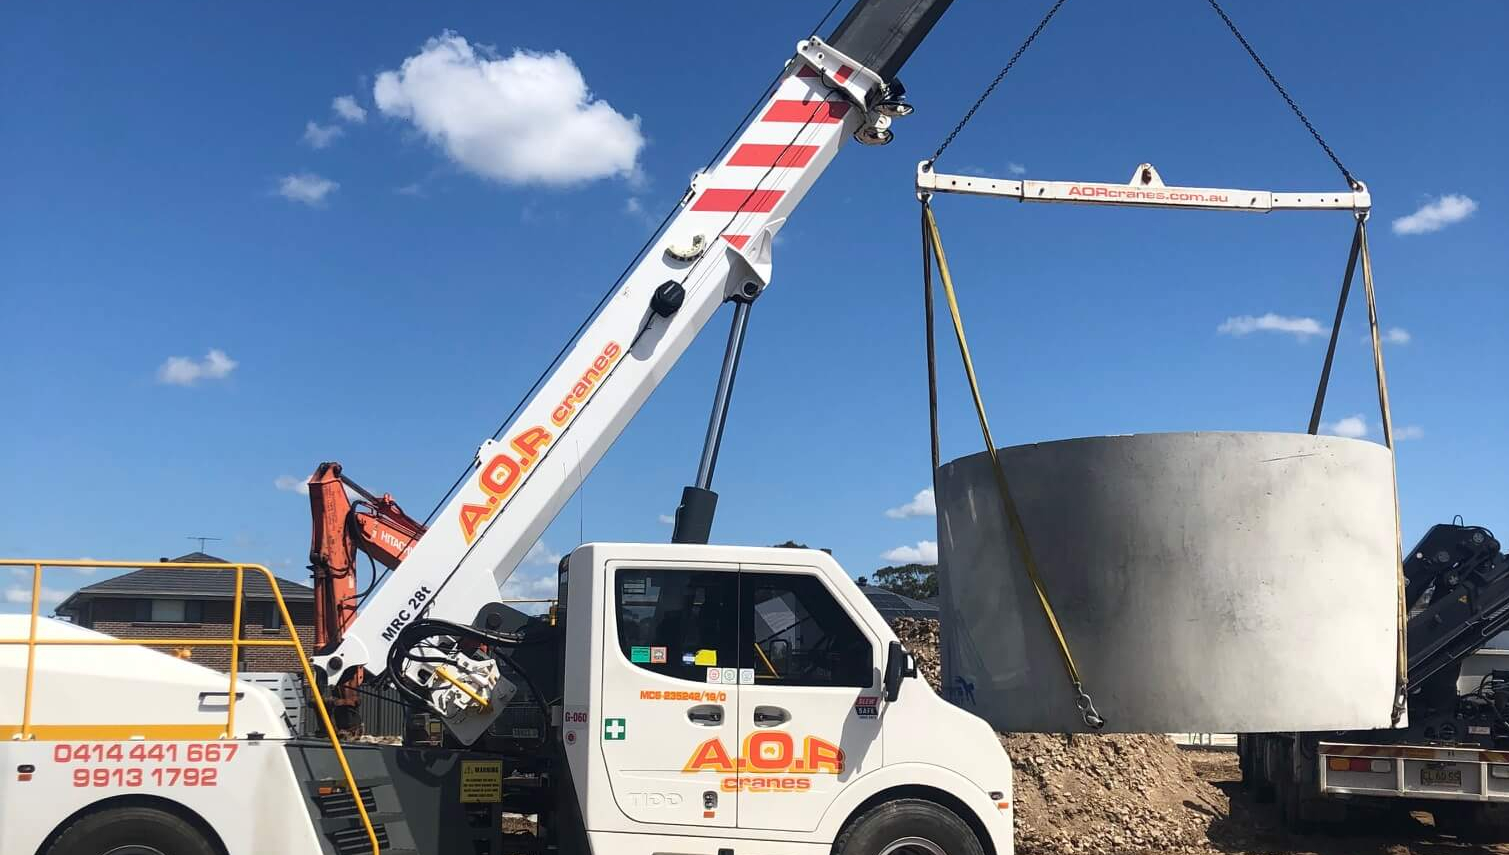
- Smooth, precise movements for seating glass on brackets and channels
- Easy pairing with vacuum lifters and glass handling gear
- Low noise and, where available, electric options for indoor or sensitive sites
That mix suits jobs where you want full control at the panel and minimal impact on neighbours or public areas.
Limits To Keep In Mind
Mini crawlers aren’t the answer for every glass lift. Key limits include:
- Lower capacity than a city crane, especially at long radii
- Shorter reach when you need to go over roofs, awnings or multiple levels
- Need for sound ground conditions along the access path and set up area
If the panel is heavy, the reach is long or the only safe position is out on the street, a city crane will often be the safer call.
Mini Crawler Vs City Crane – Key Differences For Glazing Lifts
When you’re planning glass panel crane hire in Sydney, it helps to see the two options side by side.
| Factor | Mini Crawler Crane | City Crane |
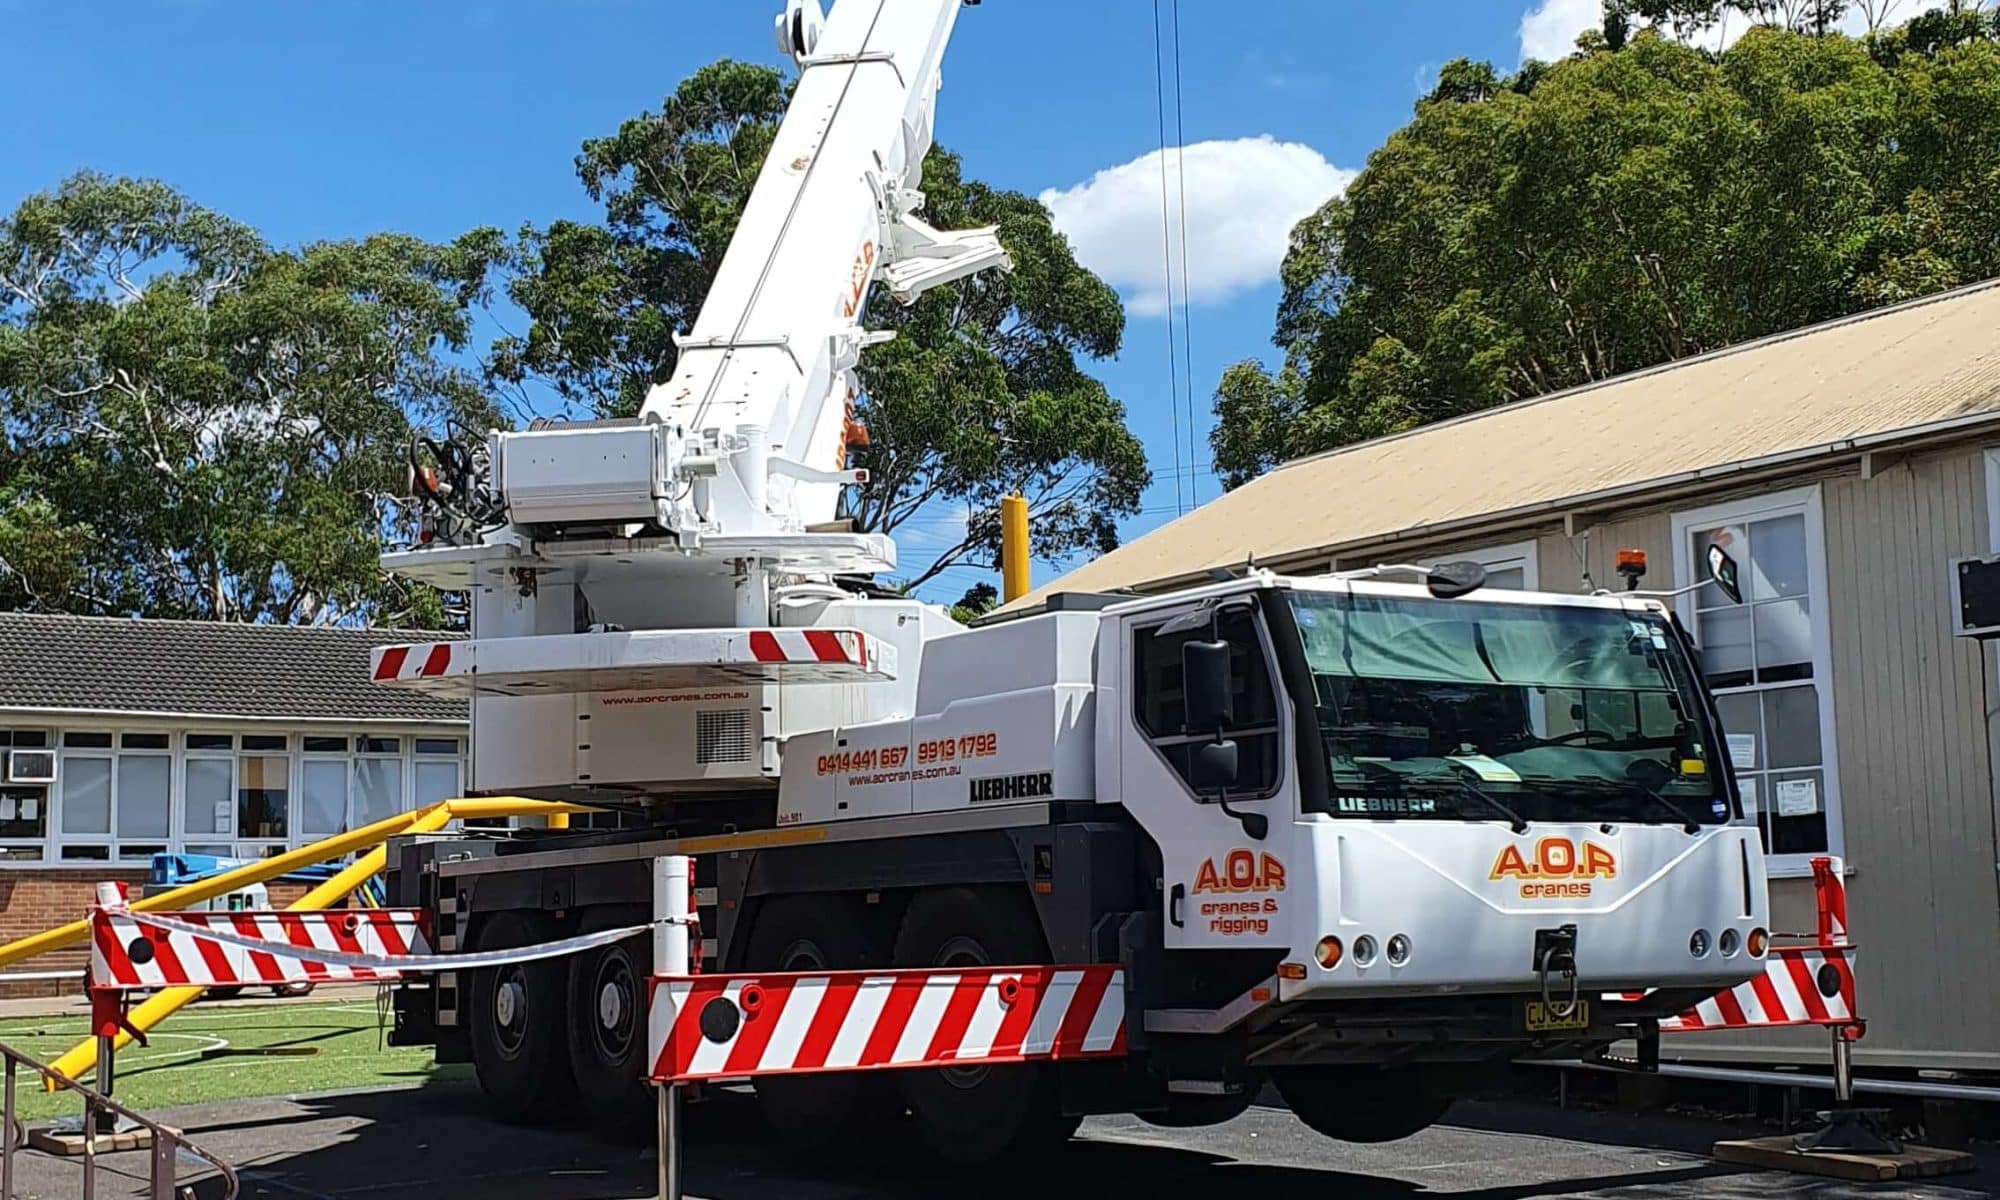
| Access & footprint | Walks through narrow side paths and gates. Sets up on slabs, podiums and courtyards. Can work inside malls and under cover. | Needs truck access and a level pad in the street, driveway or car park. Often set up outside the site and works in from the kerb. |
| Reach & height | Best when it can sit close to the glass. Suited to lower levels and moderate reaches. Ideal under awnings, balconies or roof overhangs. | Strong reach and capacity at height. Better for higher façades and shopfronts where you need to reach over awnings or canopies. |
| Panel size / capacity | Suits small to medium panels within crawler capacity when positioned close to the install point. | Handles larger, heavier glass panels and frames, especially at longer radii. |
| Set up time & disruption | Longer to track in and rig. Very low impact on traffic, pedestrians and neighbours once in position. | Often quicker to set up and pack up once access is ready. May need traffic control, permits and more neighbour communication. |
| Typical glazing scenarios | Rear yards, courtyards, side access jobs, internal malls and podiums where space is tight and public access is limited. | Street-side shopfronts, multi-storey façades, lifts over houses or awnings where you can claim road or driveway space for the crane. |
Choosing The Right Glazing Crane For Your Job
Start With Site Access
Site access decides half the job before you even talk capacity. Run through a quick checklist:
- Can a truck-mounted city crane set up safely in the street, driveway or car park.
- Is there enough room for outriggers without blocking fire exits or driveways.
- Is there a clear path wide and high enough for a mini crawler to track through side access, entries or internal corridors.
- Are there overhead hazards like awnings, balconies, trees or power lines along the lift path.
Once you know where a crane can actually sit and travel, the choice between mini crawler crane hire and city crane hire in Sydney gets much clearer.
Match Crane To Panel Size And Lift Path
Next, look at the glass itself and how it needs to move:
- Panel size and weight, including any frame or cassette.
- Final install height and how far from the crane that point sits.
- Whether you’re lifting over a structure, under an awning or inside a building.
- How the vacuum lifter or glass gear will connect and swing as the crane moves.
If the lift path runs under covers or through an atrium, a tight access crane like a mini crawler often makes more sense. If the glass needs to go over houses, awnings or multiple levels from the street, a city crane usually gives safer reach and capacity.
Simple Rules Of Thumb
When you’re weighing up glass panel crane hire in Sydney, these rules keep decisions simple:
- Lean toward a mini crawler crane when:
- You need to work in backyards, courtyards or internal spaces.
- Side access or entries are narrow or height-limited.
- Panels sit within crawler capacity and you can park close to the install point.
- Lean toward a city crane when:
- You can claim safe set up space in a street, driveway or open forecourt.
- The lift needs reach over roofs, awnings, canopies or several storeys.
- Panels are large, heavy or part of a high façade that sits well above the crane.
When those basics are clear, a quick call to AOR with photos, measurements and panel details is often all it takes to lock in the right crane for the lift.
AOR Cranes Supports Tight-Access Glass & Glazing Lifts Across Sydney
Planning Support For Glass Panel Lifting Sydney Wide
When glaziers and façade crews contact AOR early, the team can look at photos, measurements and panel details and match the crane to the site before anything turns up. Street views, access paths, yard layouts and basic glass sizes are usually enough for AOR to recommend mini crawler crane hire or city crane hire, suggest a set up position and flag any traffic or neighbour issues that need planning.
On-Site Delivery And Next Steps
On site, AOR operators and riggers work with your glazing crew to keep the lift smooth and controlled. They know how to position a mini crawler in tight spaces or set a city crane in the street so the lift path stays clean, with vacuum lifters and glass gear built into the plan. Final movements stay slow and deliberate to protect frames, shopfronts and finished façades.
If you’ve got a tight-access glazing job in Sydney or regional NSW, send through photos, measurements and panel details so the right crane can be locked in from the start. Call AOR Cranes on 02 9024 9425 or send your job details via the online contact form.
Frequently Asked Questions
Do I need a mini crawler crane or a city crane for my glass lift?
If you’re working in backyards, courtyards or inside a building, a mini crawler crane usually makes more sense. If you can set up in the street or driveway and need reach over roofs, awnings or several storeys, a city crane is often the better option.
What information should I send before getting a glass panel crane hire quote?
Send site photos from the street, access path and install area, along with panel sizes, approximate weights and install height. A simple sketch with key measurements helps AOR confirm whether mini crawler crane hire or city crane hire will suit the lift.
Can mini crawler cranes work inside shopping centres or internal spaces?
Yes, mini crawler cranes are built for tight access and can work inside malls, atriums and large internal spaces where ground conditions allow. They pair well with vacuum lifters for glass panel lifting in controlled environments.
How far in advance should I book crane hire for glazing work?
As soon as you know panel sizes, access constraints and a likely install week, it’s worth contacting AOR. Early booking gives more choice on crane type and dates, and leaves time to sort traffic control or staging if the lift needs it.
AOR Cranes is dedicated to delivering top-notch crane hire services with safety, reliability, and expertise at the core. With over 30 years of experience, we handle every project with care and expertise to meet your needs.